Receiving a homemade gift from a child is the best! Whether they draw a picture or make a collage, it’s fun to see the creativity and love that goes into their creation. This Mother’s Day, we have a few fun, easy, and practical gifts your keiki can make for anyone they want to honor on the second Sunday in May.
HOMEMADE LIP BALM
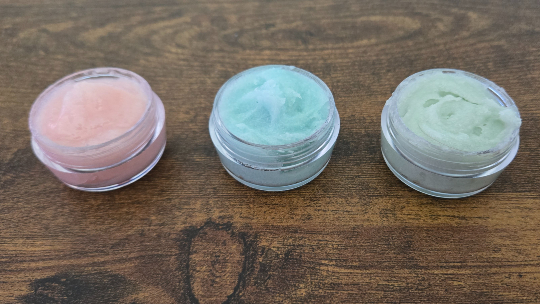
With just a few ingredients you may have around the house, you can make moisturizing lip balm that smells great. Even though we include gelatin, please be sure to tell your keiki it’s OK to use on your lips, but not edible. And don’t worry, even though we made bright colors like green and blue, the lip balm goes on clear.
We tried two recipes, one made with petroleum jelly and coconut oil and one with petroleum jelly with added cocoa butter. We’ll see which one we like better or if we can even tell the difference.
PETROLEUM JELLY AND COCONUT OIL
Supplies
- 2 Tbsp. petroleum jelly
- 1 Tbsp. coconut oil
- 1 tsp. flavored gelatin
- 2 jars or containers with lids (we found a 2-oz. two pack at a big box retailer)

Instructions
Add petroleum jelly and coconut oil to a small, microwavable bowl. Heat for about 30 seconds, depending on your microwave, until mixture is slightly melted and easy to mix. Mix until smooth.

Add gelatin. The gelatin will dissolve better if the mixture is warm. Add to jars.
PETROLEUM JELLY WITH COCOA BUTTER
The recipe and instructions are the same as above except you use three tablespoons of petroleum jelly with cocoa butter instead of two tablespoons of petroleum jelly and one tablespoon of coconut oil.
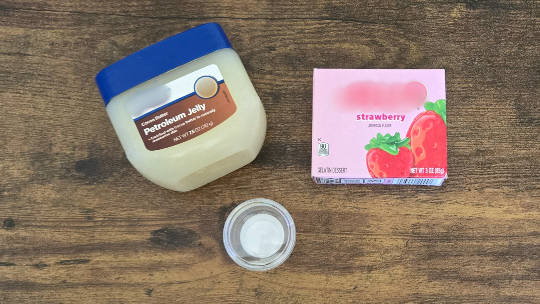
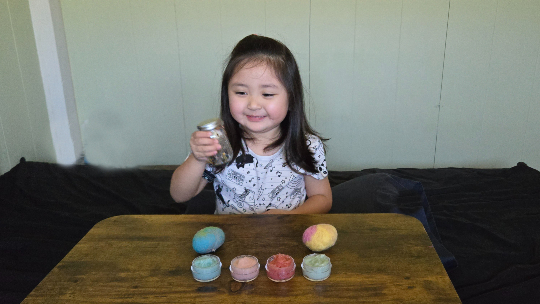
As you can see, the strawberry-flavored gelatin had the brightest color.

Results
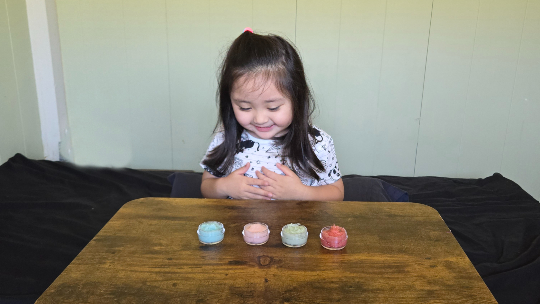
It really is personal preference. If your recipient likes coconut, they’ll enjoy the coconut oil version. Our tester enjoyed trying them all.
Note
We tried a few different brands of gelatin. The candy-inspired brands were very muted in color. Here are the flavors - all pink, watermelon, and wild berry:
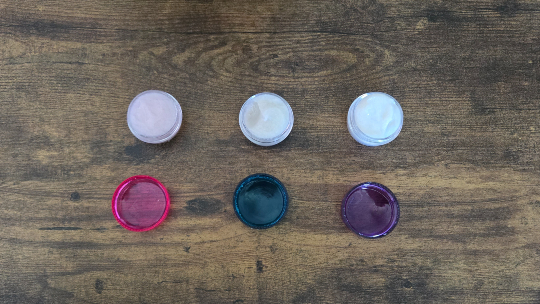
While they look gray and unappealing, they still smell nice and moisturize well. But if you’re making a gift, go with name brand gelatin for aesthetic purposes.
REUSABLE DRYER BALLS
This may seem like an odd gift, but reusable dryer balls are practical and fun for kids to make. Using dryer balls is more sustainable than dryer sheets as one ball can be used for 1,000 loads of laundry. Depending on how often you do laundry and the size of your family, this is two to five years of laundry!
Plus, those who have sensitive skin, like me, prefer dryer balls to dryer sheets because there are no chemicals. Other benefits include faster drying times, eliminating static cling, and softer clothing.
All you need is 100% wool and nylon stockings. The wool can come in the form of clothes, yarn, or wool roving. Since we live in Hawaii, we didn’t have any old wool sweaters. And I couldn’t find 100% wool yarn at local craft stores or big box retailers. However, I was able to find wool roving at the craft store. And it came in fun colors.
Also, about the nylon stockings, I thought they would also be easy to find and inexpensive. However, the two stores I visited only had multipacks of fancy pantyhose for $10. Then I remembered I had tried on shoes at a store that had free nylon socks. Luckily, I forgot to throw them away and found them stuffed in a pocket in my purse. I also read online that nylon socks would also work.
Once you have your supplies, the rest is easy.
Supplies
- 100% wool
- Nylon stocking or socks

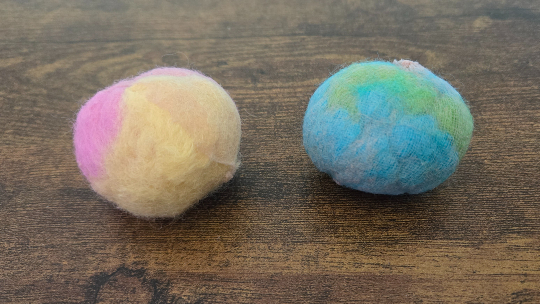
Note on wool roving: I bought four pieces of 2-oz. wool roving. I thought it would be enough for two softball-sized dryer balls. However, they shrunk in the dryer and came out smaller than expected. So, if you want large dryer balls, the more wool roving, the better.
Instructions
Roll the wool roving into a ball. Tuck in the ends as much as possible.

Stuff wool ball into nylon stocking tightly and tie a knot to secure. To set, run the balls through a hot cycle with some detergent in the washer (it’s best to wash it with a load of towels you were going to wash anyway). Then, dry on the hottest setting for at least one hour.
You’re supposed to be able to remove the balls from the nylon stocking, but the nylon and the wool became fused. It felt like a store-bought dryer ball, so we just left it in the stocking.
We tested the dryer balls with a batch of clothes and they seemed to work fine. There didn't seem to be much static cling and clothes seemed just as soft as when dried with a dryer sheet.
MINI SNOW GLOBES
What’s more whimsical than a snow globe? They’re fun to look at, but regular-sized snow globes can take up a lot of room. That’s why we’re making a mini version out of items you may have around the house, giving them a second life.
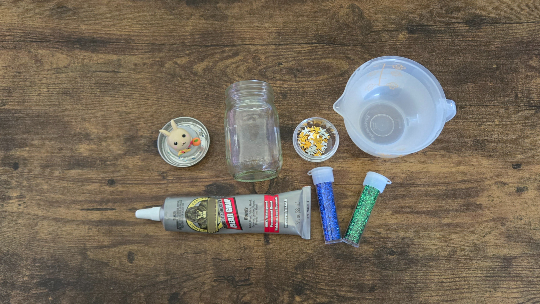
Supplies
- Jar with lid (we used a 4-oz. canning jar)
- Figurine or toy that will fit in the jar
- Plastic bottle cap (optional)
- Waterproof glue
- Tap water or distilled water (enough to fill jar almost to the top)
- Glitter or sequins
- Glycerin (optional)
Instructions
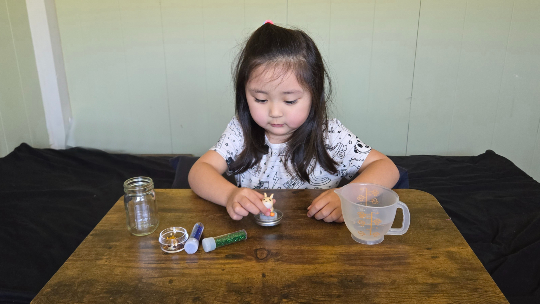
If you want to raise your figurine so it’s easier to see in the snow globe, glue it to a plastic bottle cap. Then glue the bottle cap (or your figurine) to the inside of the jar lid. Since the glue is so strong, to avoid accidents, I glued the figurine on the bottle cap and affixed the glue on the lid and my assistant placed the bottle cap on the glue.
Next, add water. I read online that distilled water will look clearer than regular tap water, so we used some distilled water we have for our humidifier. But if you don’t have distilled water, tap water is fine.
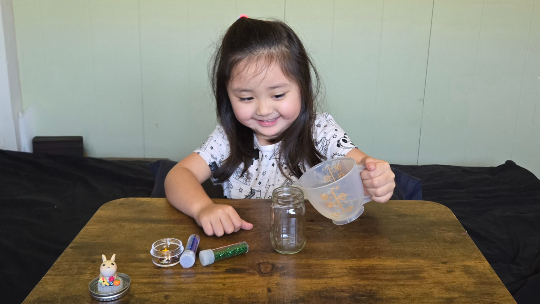
Add glitter and/or sequins. Giving a child a vial of glitter takes a lot of trust. Luckily, my assistant did a great job and didn’t get glitter everywhere. Whew!

If you have glycerin, add a few drops at a time. The glycerin is supposed to make the glitter and sequins float down slowly, but I couldn’t find it at the store. I read that baby oil does the same thing, but when I added baby oil, it made the glitter and sequins clump together.
Place the lid on the jar and twist shut. Shake to see if you need to add more glitter or sequins. You can glue the lid shut, but I think it would be fun to occasionally change the figurine.
You’re done!
Happy Mother’s Day!
More for Momma
A homemade gift or homecooked meal are great ways to show your mom how much you care any day of the year. Here are some craft ideas and recipes that are sure to impress any person you want to honor.
cinnamon honey fall face mask
Give the gift of pampering with this easy mask made out of ingredients you already have!
floral lei alternatives
Instead of using flowers, use snacks around the house to make the perfect lei for Mom!
mother's day earring holder
This DIY ombre earring holder made with craft sticks is quick and easy.
mother’s day recipes kids can make
Surprise your mom with breakfast in bed! Recipes include banana French toast, yogurt parfait, silly peanut butter crackers, pinwheel sandwiches, and vanilla mug cake.
poke nachos
You don’t need to go to a fancy restaurant to enjoy poke nachos. This dish is easy to make and delicious to eat!
recipes for garlic lovers
If your mom enjoys garlic, try these garlic-centric recipes, which include spicy garlic noodles, garlic broccoli stir fry, and a tomato garlic tart.