Easter is around the corner! Here are some fun crafts and recipes to keep everyone entertained in between egg hunts and feasts. So put on your bunny ears (after you make them, see below) and get ready for a hopping good time.
PIPE CLEANER BUNNY EARS
With just six pipe cleaners, you and your little ones can make these adorable bunny ears. Personalize by mixing and matching the colors.
Supplies
- 6 pipe cleaners

Instructions
Bend pipe cleaner you want to use for one of the outer ears into a bunny ear shape. Bend the inner ear pipe cleaner in the same shape and move it down an inch. Twist the bottom of the pipe cleaners to secure. Do the same for the second ear.

Twist the two pipe cleaners you want to use as the headbands together. Bend into an arch.
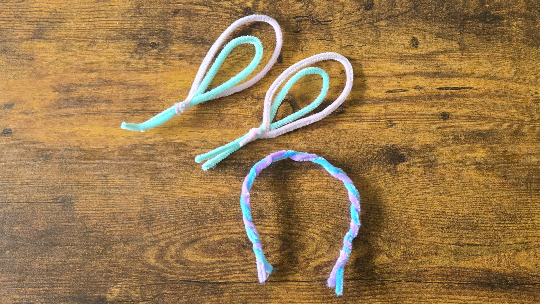
Twist ears onto headband.
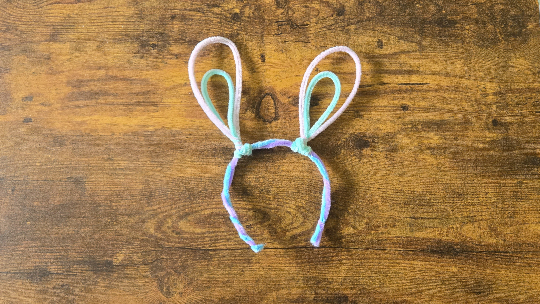
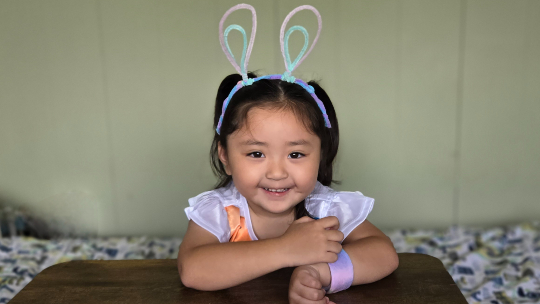
Wear your bunny ears proudly!
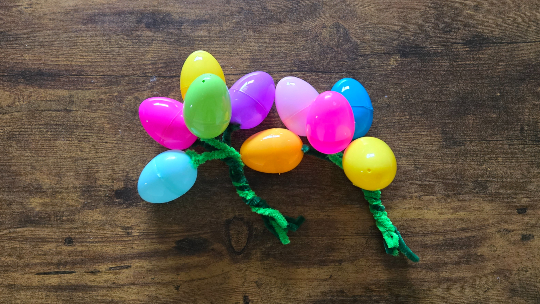
PLASTIC EGG BOUQUETS
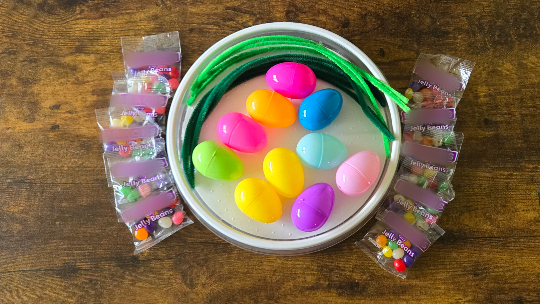
Bouquets of flowers are fine, but what if you used plastic eggs filled with treats instead? You get the perfect Easter craft! You can also give out individual “flowers” to kids in your child’s class. Be sure to buy plastic eggs that have two holes at the bottom.
Supplies
- Plastic eggs
- Pipe cleaners (we used two shades of green, but any colors will work)
- Treats to put inside the eggs.
Instructions
Open a plastic egg and thread a pipe cleaner through one hole and down through the other hole. Add your treats and close the egg. Twist the two ends of the pipe cleaners together.
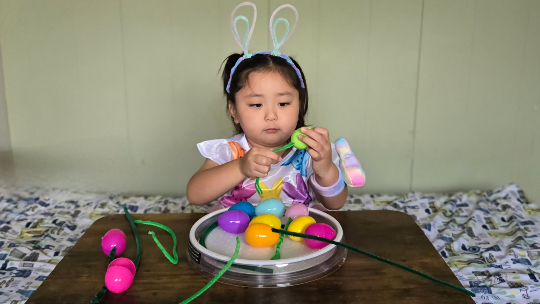
Once you have enough “flowers” for a bouquet (we used five per bouquet), twist all the stems together. You’re done!
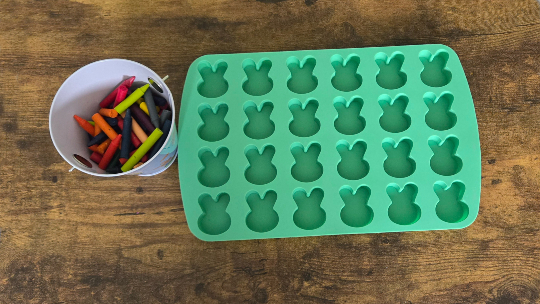
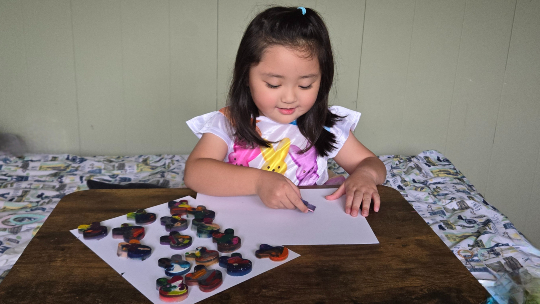
DIY BUNNY CRAYONS
If you have a bucket of broken crayons, thanks to your toddler, you’re going to love this activity! We’re melting them into brand new and adorable bunny crayons.
Supplies
- Crayons
- Silicone bunny mold
Instructions
Preheat oven to 350 degrees. Unwrap crayons and break them into pieces that fit into the mold. 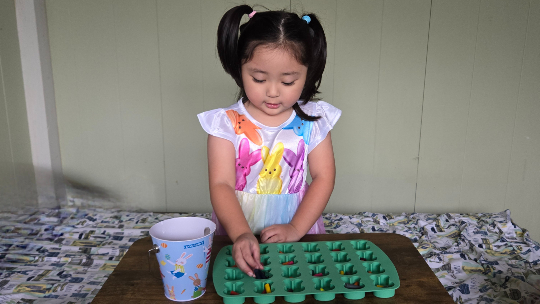
Put mold on a baking sheet. Bake crayons for 8-10 minutes or until melted. Remove from oven and let crayons cool until they harden. Gently remove from mold.
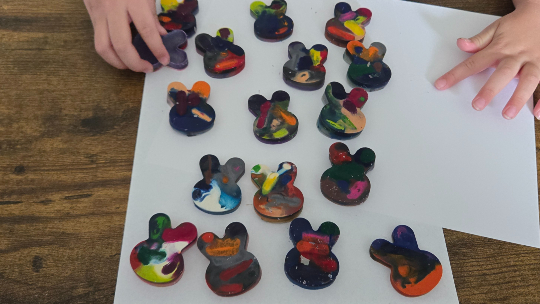
Color your heart out!
Notes
If you don’t have broken crayons, you can still make these bunny crayons. Simply unwrap any crayons and break them into pieces.
Melt the crayons by color if you don’t want a hodgepodge of colors.
You can use any silicone mold you have for any occasion.
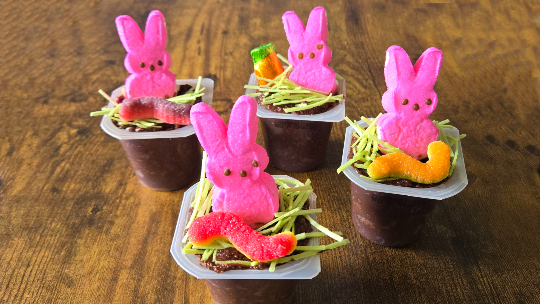
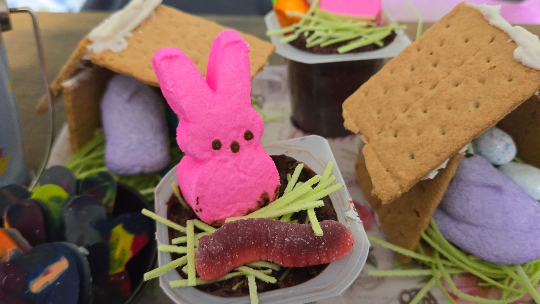
DIRT BUNNY CUPS
Don’t worry, we’re not actually eating dirt. Instead, we’re mixing chocolate pudding and cookies to look like the yummiest “dirt” ever. We used individual cups of pudding, which provide the perfect vessel, but you can make instant pudding if you’d like. Just remember to buy cups.
Ingredients
- 4 individual cups of chocolate pudding
- 4 cookies (we used chocolate covered graham crackers)
- Edible grass
- Marshmallow bunnies (or any animal you’d like)
- Candy for decoration (we used gummy worms)

Instructions
Empty pudding cups into a bowl. Crush cookies in a zipper top storage bag, add to pudding, and mix. Add pudding and cookie mixture back to cups. Decorate with edible grass, bunnies, and candy.
Notes
If you can’t find edible grass, you can use green frosting or green food coloring on white frosting. Or you can skip the “grass” all together.
You can add any candy you have. We found chocolates wrapped to look like carrots so we stuck them in the dirt cup!
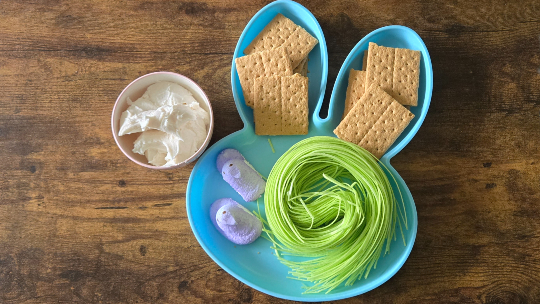
TINY HOUSES FOR EDIBLE ANIMALS
These graham cracker houses are 50% craft, 50% recipe, and 100% fun to make. Once you build your houses, you can customize with any animals and candies you have. The following is for one house so scale up if you want to create a village.
Ingredients
- 3 whole graham crackers
- Frosting or icing
- Edible grass
- Decorative candies (we used chicks)
Instructions
Break the whole graham crackers in half so you have six pieces. Use frosting or icing to “glue" the walls (two sides and a back) to the floor. Next, glue two halves together in a triangle shape to create the roof of the house. Allow to dry for at least one hour.
Once the pieces have set, attach the roof to the rest of the house. Decorate and fill your house with love (or edible animals).
Note
After making the houses, we decided that they needed something else, so we added robin’s eggs.
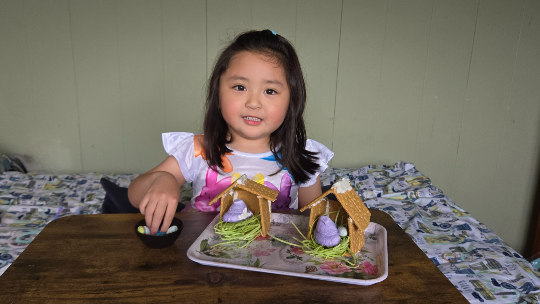
Now all that’s left to do is admire your hard work and creativity!
Happy Easter!
More fun
Keep the Easter good times (and the eggs) rolling with these crafts and recipes.
carrot patch hummus
cheese bunnies
craft stick easter basket
easter bunny chow
easter lamb: lahmahjoon (armenian pizza)
egg carton easter chicks
hard-boiled easter eggs
oatmeal peanut butter eggs
mini pepper stuffed “carrots”
perfect boiled eggs
rice cereal nests