Gummy bears are a sweet, chewy treat. However, since they’re usually chock-full of sugar, I tend not to buy them anymore now that I have a toddler. Two things I buy regularly are sugar-free gelatin and fruit juice. I wondered if I could make gummy bears out of these two household staples. Thanks to a quick internet search, the answer is yes! And so began my quest to make homemade gummies.
Fit the mold
Due to my obsession with diy summer ice cubes, I’ve accumulated a lot of different silicone molds.
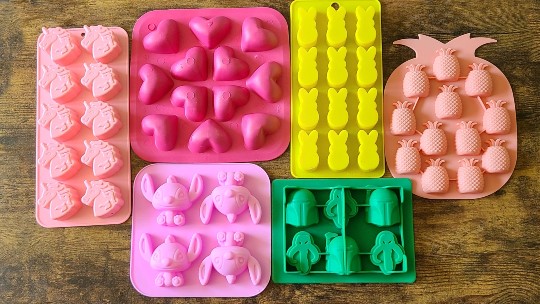
However, since I wanted to make gummy bears, I ordered the molds online. They were affordable and hopefully a good investment. I ended up using a couple of larger molds for the leftover gummy mixture to make jumbo gummies. So feel free to use any mold you want.
Once you have your molds, it’s time to make your gummy mixture.
DIY GUMMY BEARS WITH SUGAR-FREE GELATIN DESSERT
Ingredients
- 3 oz. packet sugar-free gelatin dessert (any flavor)
- 1 Tbsp. (1 packet) unflavored gelatin
- 1/3 cup water
Supplies
- Silicone mold
- Refrigerator-safe tray or cutting board
- Liquid dropper
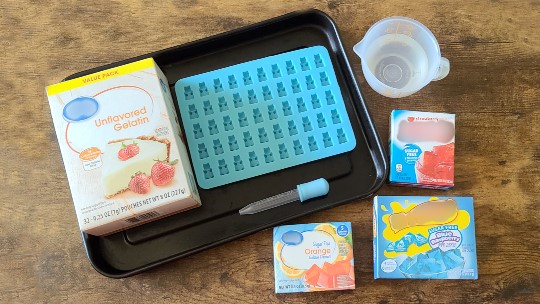
Note: The dropper in the photo came with the gummy bear silicone mold. I couldn’t get it to work so I used extra droppers that came with my child’s vitamin vial.
Directions
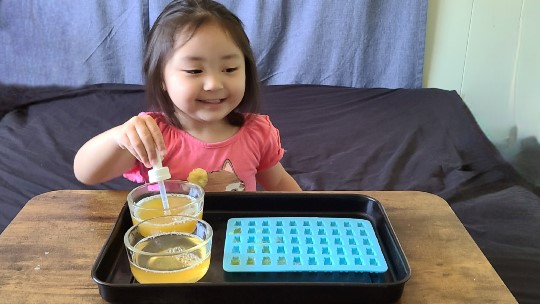
Mix all ingredients in a saucepan over low heat until gelatins dissolve, stirring constantly until mixture thickens. Let cool. Place silicone mold on tray or cutting board for easy transport. Use dropper to add gummy mixture to the molds.
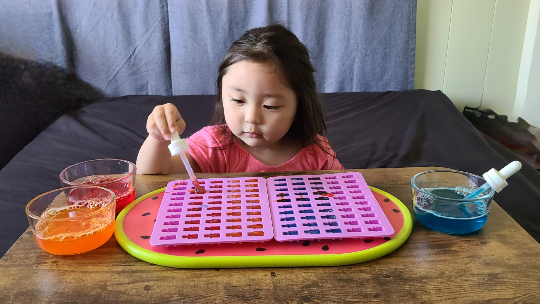
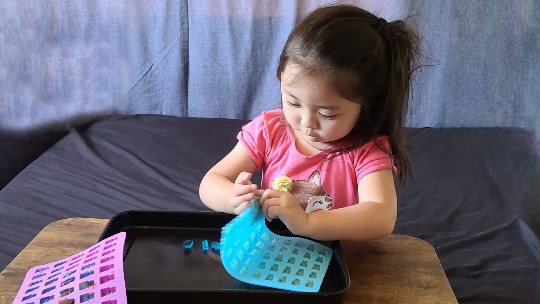
Move tray with filled gummy mold to refrigerator for about 1 hour or until set. Remove gummies with care.
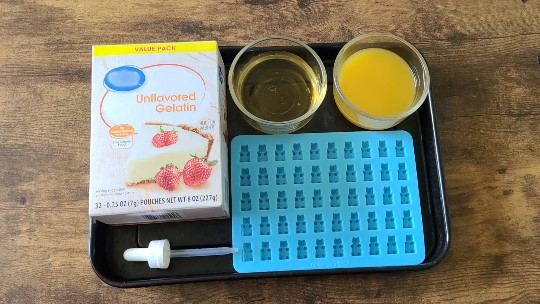
DIY GUMMY BEARS WITH FRUIT JUICE
Ingredients
- 1/2 cup fruit juice
- 1 Tbsp. (1 packet) unflavored gelatin
Supplies
- Silicone mold
- Refrigerator-safe tray or cutting board
- Liquid dropper
Directions
Follow the instructions for sugar-free gelatin dessert gummies.
Move tray and filled gummy mold to refrigerator for about 1 hour or until gummies have set. Again, remove gummies with care.
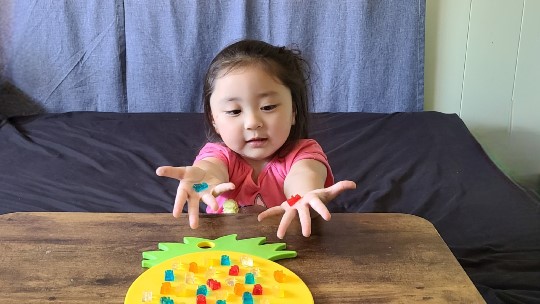
We filled the larger molds with the extra gummy mixture and ended up with a lot of gummies!
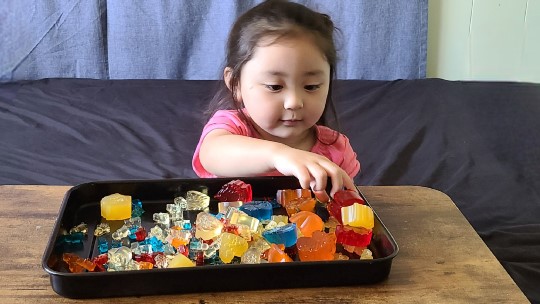
Taste test: Sugar-free gelatin dessert gummies
We made three flavors: name-brand strawberry, popular candy-company blue raspberry, and house-brand orange.
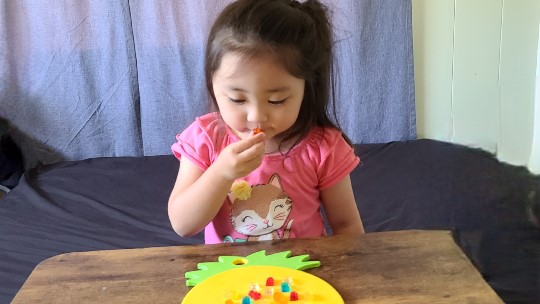
The strawberry was our favorite. It tasted close to its sugary counterpart. The blue raspberry was very tart. The orange had a mildly unpleasant fake-sugar aftertaste.
The consistency for all three variants was OK. They weren’t as chewy as real gummy bears but weren’t as flimsy as a basic gelatin dessert. Overall, the sugar-free gelatin dessert gummies are a fine alternative to real gummy bears.
Taste test: Fruit juice gummies
We used the juice we had on hand: apple and mango. Neither had much flavor in gummy form. They tasted like plain gummies, which was disappointing.
How to store your gummies
Store gummies in an airtight, food-safe container. If you leave them in the fridge, they should last about two weeks. If you leave them out at room temperature, they’ll last around one week.
Final thoughts
- Even the larger-sized mango and apple gummies didn’t have much flavor.
- Other liquids to gummify: POG, cranberry, grape, or orange juice, sugar-free sports drinks, water enhancer drinks.
- Some people puree whole fruits and use that as their fruit “juice.” This may result in tastier gummies.
- Others add honey for sweetness or lemon for tartness.
- Making homemade gummies was a fun activity for the entire family. We’ll definitely make them again.