Bean bags, rice bags, beanies – there are many names for these classic toys. Traditionally, they were just squares that you used in a bean bag toss game. Then somewhere along the line, a mastermind created bean bag stuffed animals. I remember buying dozens of kids’ meals trying to collect those beloved animal toys!
Combining my love for food and crafting, I’ve come up with a quick and easy musubi “rice bag” project that you can make in minutes. They’re cute, fun toys that can also be used as pin cushions, white board erasers, or small heating pads when you zap them in the microwave.
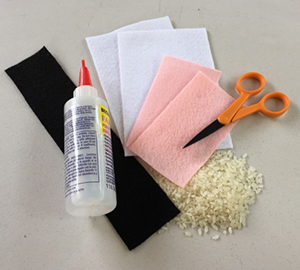
What you’ll need:
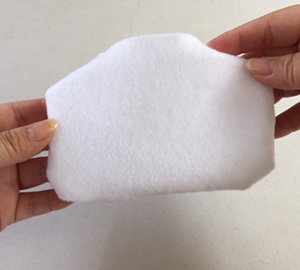
• Two pieces white felt – 4”x6”
• Two pieces light pink felt – 2 ½”x4 ½”
• One piece black felt – 2”x9”
• Fabric or craft glue
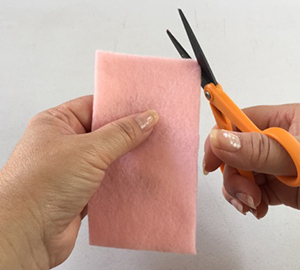
• Scissors
• Uncooked rice – about ½ cup
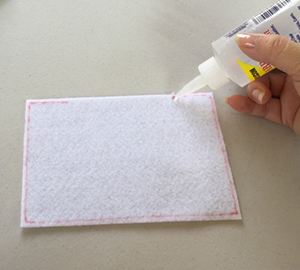
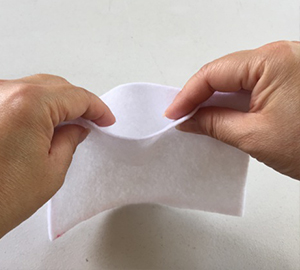
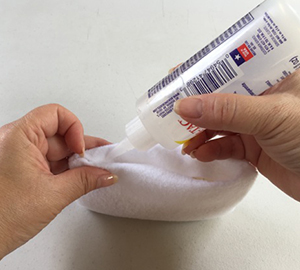
Step 1: Glue
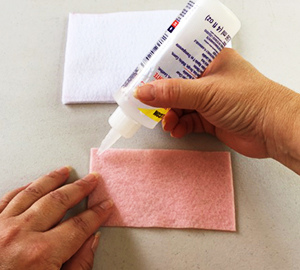
Apply glue to the edges of one white piece of felt, leaving a portion of one side unglued. (See the photo on the left below.) Layer the second white felt piece and press together to secure. Let dry for approximately 5 minutes. While waiting for this to dry, glue the two pieces of pink felt together.
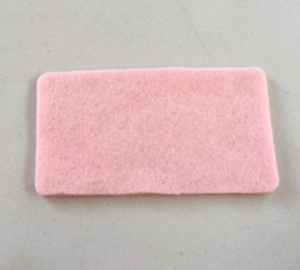
Step 2: Shape
Round off the four corners of the layered pink felt piece to simulate a slice of luncheon meat. Next, take the dried white felt piece and turn it inside out through the opening. You should now have a nice “seamed” rectangle.
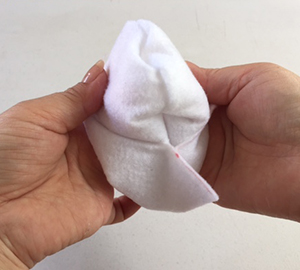
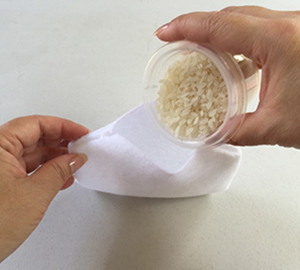
Step 3: Fill
Pour the rice into the pouch; about half-way full. Fold the seams inward and seal the opening.
Step 4: Finish
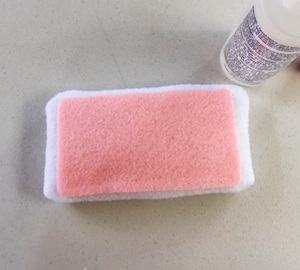
Layer the pink felt piece (luncheon meat) onto the filled white felt pouch (rice). Secure with glue. Wrap the black felt piece (nori) around the middle of the musubi beanie. Secure with glue and you’re done! A cute replica of an iconic island staple that looks good enough to eat. Enjoy! (But don’t eat it.)