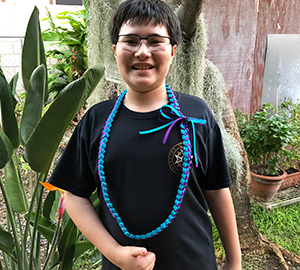
In Hawaii, you don’t need any special reason to give someone a lei, but there’s one occasion in which giving leis are almost expected — graduation day! Flower leis are still very popular, but they can get costly and although they smell heavenly, we can’t enjoy them for very long. Ribbon leis have become very popular. They’re efficient in both cost and time. With a couple of rolls of ribbon and a little handiwork, you can make dozens of leis in no time at all!
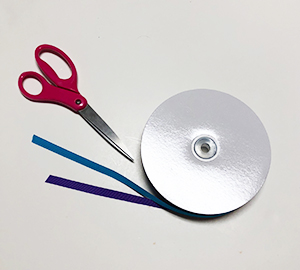
What you'll need:
- 2 rolls of 3/8 inch grosgrain ribbon (different colors)
- Scissors
Note: I strongly recommend grosgrain ribbon for beginners. The ridged texture helps in keeping the braid secure.
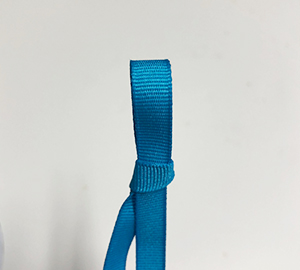
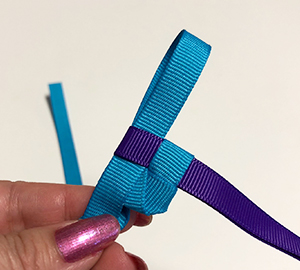
Step 1: Knot
Pull about 12 inches of ribbon from the spools. Take ribbon 1 (the blue ribbon in this demo) and make a slip knot 12 inches away from the end.
Note: The excess ribbon will be used to finish the lei.
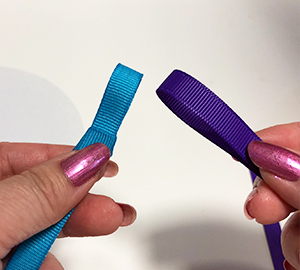
Step 2: Braid
Take ribbon 2 (the purple ribbon in this demo) and make a loop. Insert ribbon loop 2 (purple) through ribbon loop 1 (blue). Pull loop 1 secure, but not too tight, around loop 2.
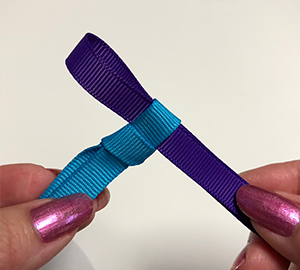
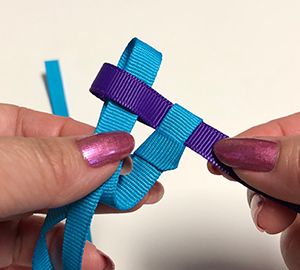
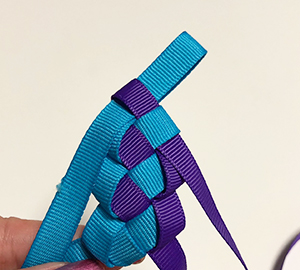
Next, take ribbon 1 (blue) and make a loop. Insert this loop 1 (blue) into the existing loop 2 (purple). Pull ribbon 2 loop secure. Repeat. As you braid, you will begin to see a checkered pattern forming.
Note: Folding the ribbon towards or away from you when making the loops doesn’t matter, just remember to be consistent.
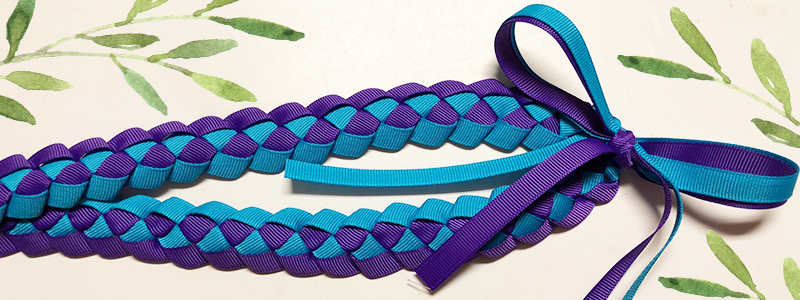
Step 3: Finishing
When the desired length is achieved, cut both ribbons approximately 12 inches from the end of the lei. Pull the cut ribbon through the last loop of the lei to end the braiding and knot to finish. Use the tails to tie a bow.
Note: A lei for an adult is approximately 40 inches.

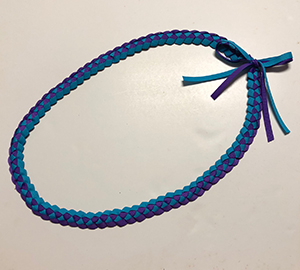
Use your graduate’s school colors and make dozens in time for graduation! A wonderfully quick and inexpensive way to give some Aloha!